Building ChatGPT apps with OpenAI Apps SDK and Node.js: simple UI and reading input
Introduction
OpenAI has recently announced ChatGPT apps. A quick summary on that:
- They are effectively MCP servers
- But also...
- There'll be an equivalent of App Store in ChatGPT, so a huge distribution channel
- Unlike other MCPs they will have a UI - yes, a real interactive UI
- Yes, you can embeded a React app in Chat GPT
In this blog post
In this blog post we'll explore the OpenAI Apps SDK and will build a simple UI with it. We'll use vanilla JavaScript. We'll cover React in future blog posts.
Also the UI will be 'semi dynamic'. Its content will depend on the input to our app (produced by an LLM), but there won't be interactivity yet. We'll cover it in the future blog posts.
Pre-requisites
- We're going to be using TypeScript and Node.js
- We also assume some familiarity with building MCP servers.
- If you have never built an MCP server check these two blog posts:
- Building a simple MCP server with Node.js
- Writing an MCP server that talks to a SQL database
Let's go
ChatGPT apps are just MCP servers. So we just need a very simple MCP scaffolding with one tool - say-hello.
Again if something is not clear, check the two blog posts from the section above about building MCPs with Node.js.
import { McpServer } from "@modelcontextprotocol/sdk/server/mcp.js";
import { StreamableHTTPServerTransport } from "@modelcontextprotocol/sdk/server/streamableHttp.js";
import express from "express";

const app = express();
app.use(express.json());

app.post("/mcp", async (req, res) => {
  try {
    const transport = new StreamableHTTPServerTransport({
      sessionIdGenerator: undefined,
    });

    const server = new McpServer({
      name: "hello-world",
      version: "1.0.0",
    });

    server.registerTool(
      "say-hello",
      {
        title: "Say hello",
        description: "Say hello to the world",
      },
      () => {
        return {
          content: [
            {
              type: "text",
              text: "Hello, we're building a ChatGPT app with OpenAI SDK!",
            },
          ],
        };
      }
    );

    await server.connect(transport);
    await transport.handleRequest(req, res, req.body);
  } catch (error) {
    console.error("Error handling MCP request:", error);
    if (!res.headersSent) {
      res.status(500).json({
        jsonrpc: "2.0",
        error: {
          code: -32603,
          message: "Internal server error",
        },
        id: null,
      });
    }
  }
});

app.listen(3000);
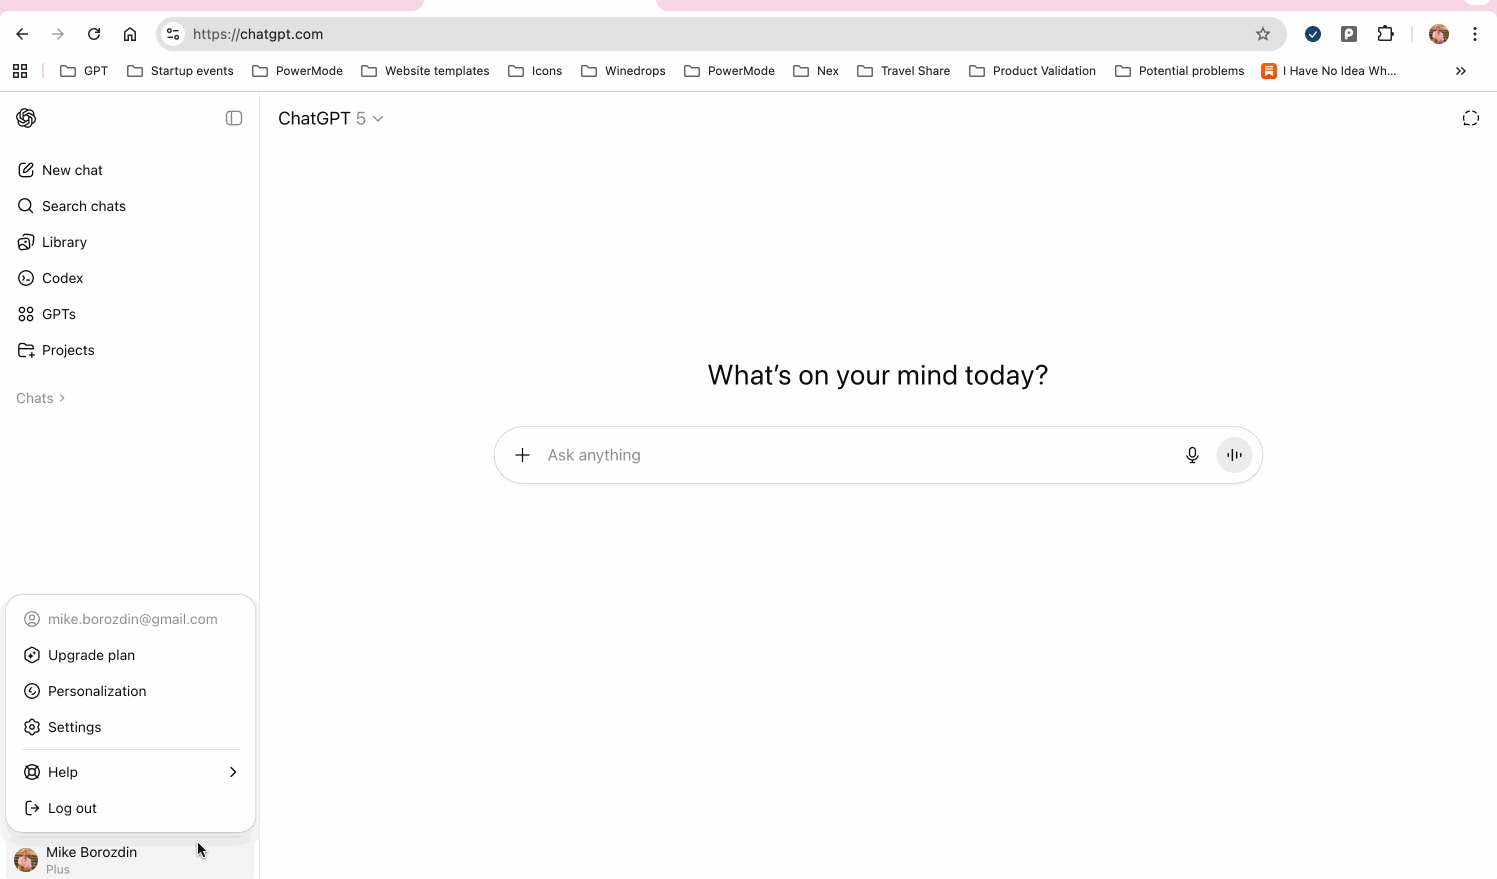
In ChatGPT you need to enable the developer mode. You can do that by clicking on your name in the bottom left corner and then Settings -> Apps & Connectors -> Advanced Settings
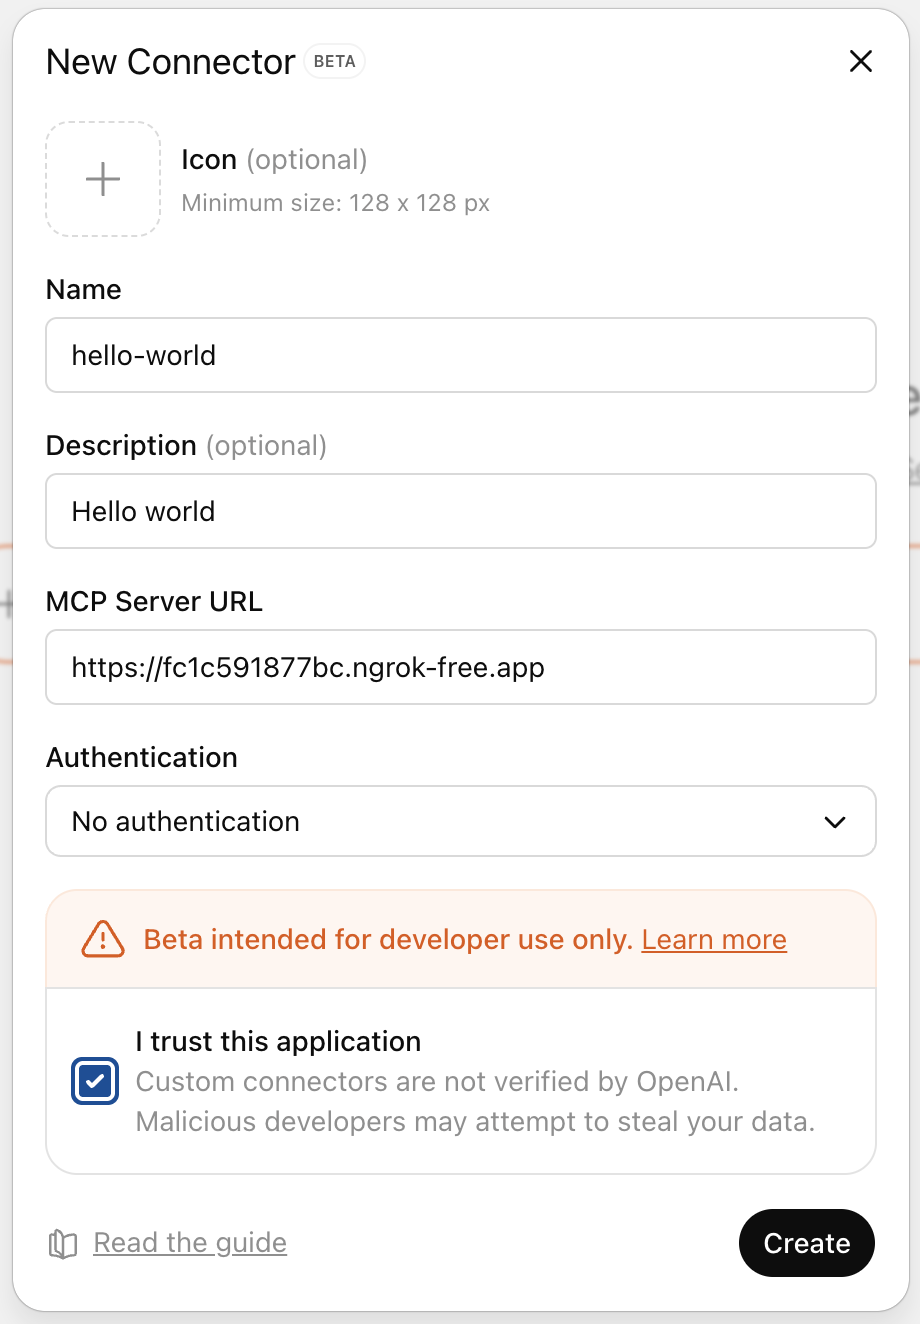
After that we should be able to add our MCP server / ChatGPT app to ChatGPT. Again go to Settings -> Apps & Connectors. Click on Create in the top-right corner. There you should see a form to fill in the details about our app. The most important thing is URL. ChatGPT, unlike Claude Desktop, does not have access to local resources, so we need to expose our server with ngrok or a similar tool.
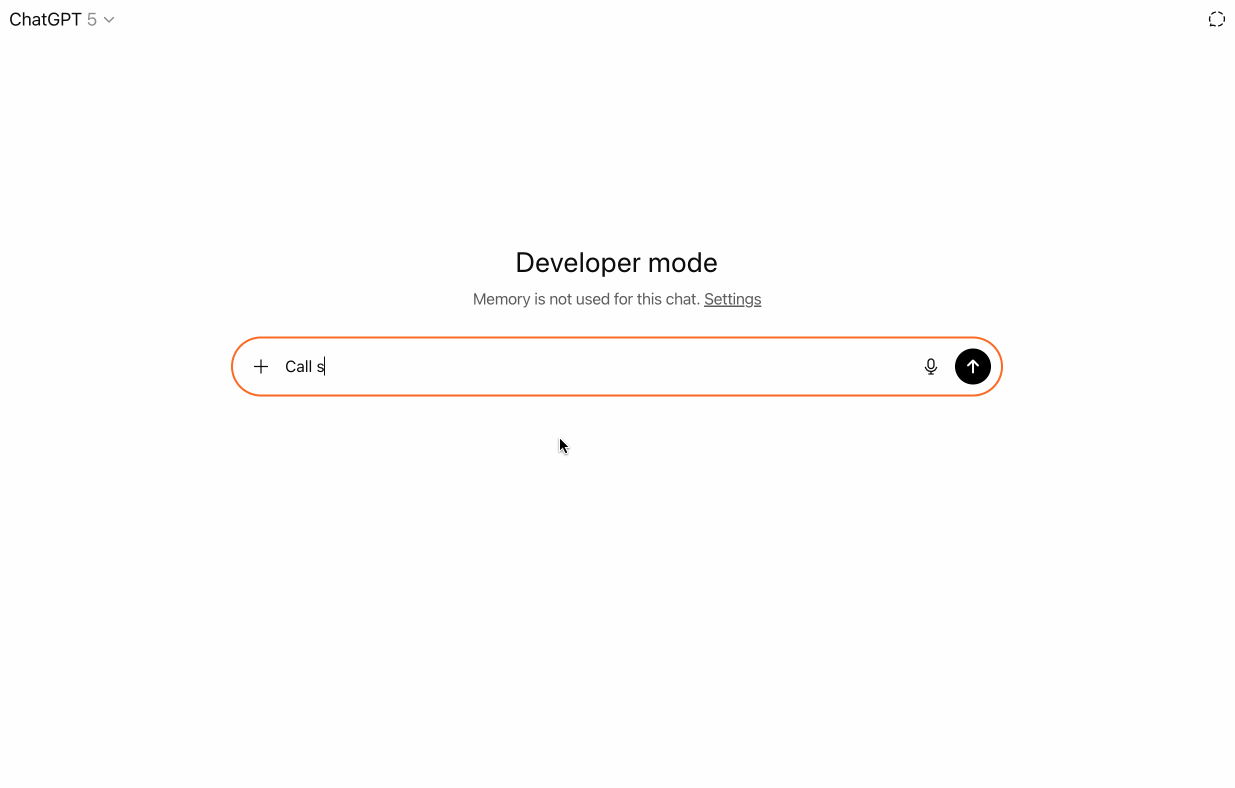
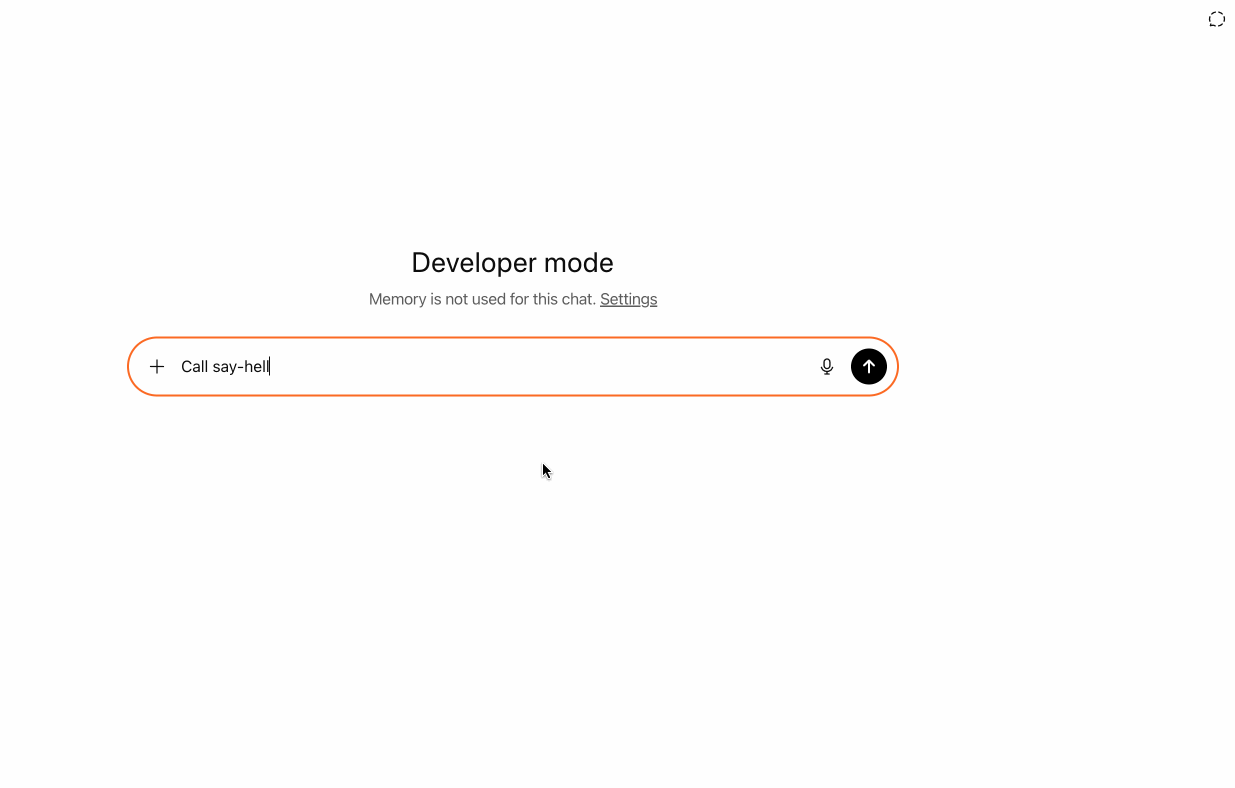
After that we should be able to call our tool. Unfortunately, ChatGPT is not as good as Claude as figuring out when it's meant to call an MCP tool. So we have to prompt it very excplicitly:
Call say-hello from hello-world
Let's build a simple UI
In order to add a UI to an ChatGPT app you first need to have a resource which will have the initial HTML:
server.registerResource(
  "hello-widget",
  "ui://widget/hello.html",
  {},
  async () => ({
    contents: [
      {
        uri: "ui://widget/hello.html",
        // Skybrdige is OpenAI's sandbox runtime
        mimeType: "text/html+skybridge",
        text: `
            <h1 style="color: red;">Hello, world!</h1>`,
      },
    ],
  })
);
The text here contains our HTML. It can also have JavaScript and CSS. Also we don't need to embed the whole content in a string. We can read a file from disk and pass its contents to the text attribute. After all, we control the MCP server.
And then associate that template with a tool:
server.registerTool(
  "say-hello-with-ui",
  {
    title: "Say hello with UI",
    description: "Say hello to the world with a UI",
    _meta: {
      // this has to match the uri of the resource we registered above
      "openai/outputTemplate": "ui://widget/hello.html",
      // loading message
      "openai/toolInvocation/invoking": "Loading UI",
      // loaded message
      "openai/toolInvocation/invoked": "Loaded UI",
    },
  },
  () => {
    return {
      content: [
        {
          type: "text",
          text: "Showing UI",
        },
      ],
    };
  }
);
The important thing here is the _meta attribute and its own attribute called openai/outputTemplate. It has to poin to the URL of the template, in our case it is ui://widget/hello.html.
Now we have to refresh the ChatGPT App in ChatGPT because we've added a new action. Go to Settings -> Apps & Connectors -> [name of the app] -> Refresh
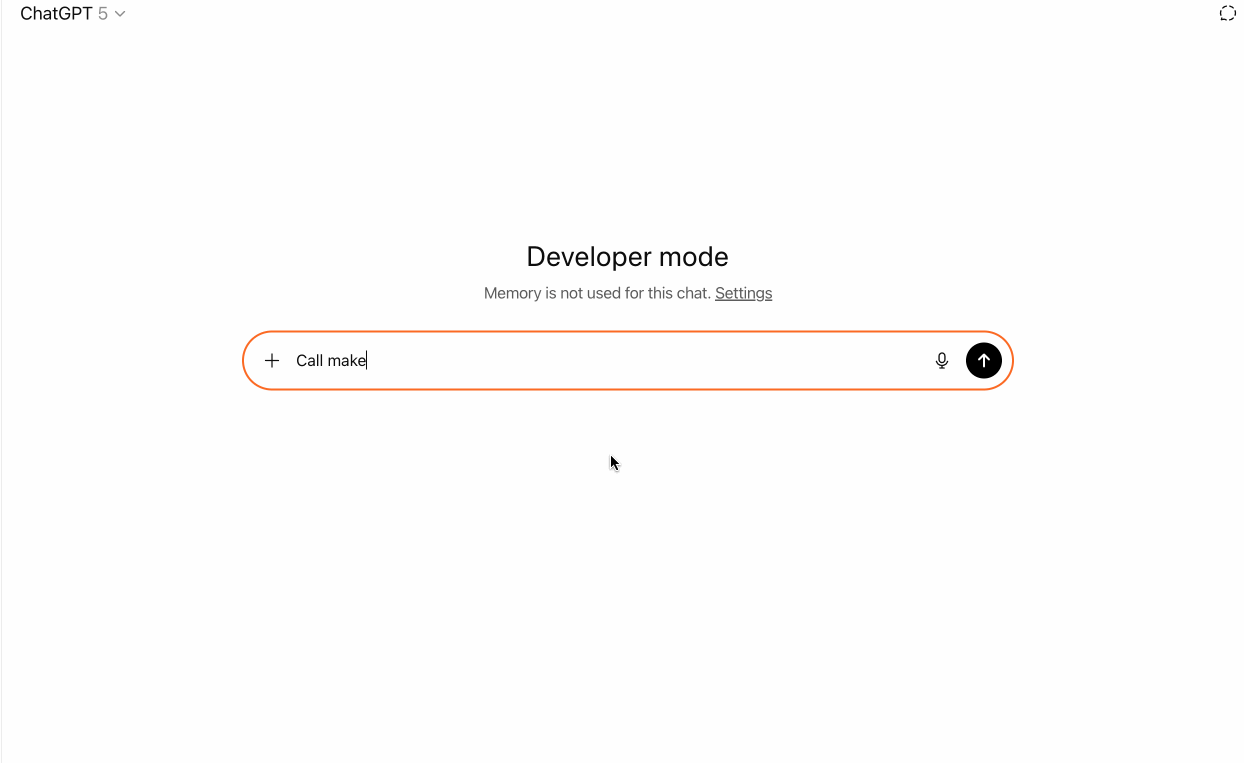
After that we can write a prompt to cool our new tool
Call say-hello-with-ui from hello-world
Again, ChatGPT requires a lot more explicit prompting when it comes to the apps.
The you should see a large text in red!
How did it work?
ChatGPT injected an iframe with the HTML code. You can see it yourself in the browser developer tools.
Working with input
That was a very basic example. But it lays foundations on how we can add UI (HTML templates) to the ChatGPT Apps. Next step is to show the input on the HTML page.
We can access the input by using the ChatGPT bridge. It exists on window.openai. This is what gets injected into an iframe.
For input there's an attribute called window.openai.toolInput.
Let's build another tool called make-text-red. It'll accept one argument of type string called text and pass it onto the HTML template.
server.registerTool(
  "make-text-red",
  {
    title: "Make text red",
    description: "Makes text red",
    _meta: {
      "openai/outputTemplate": "ui://widget/red-text.html",
      "openai/toolInvocation/invoking": "Loading red text",
      "openai/toolInvocation/invoked": "Loaded red text",
    },
    inputSchema: {
      text: z.string().describe("The text to make ted"),
    },
  },
  async () => ({
    content: [{ type: "text", text: "Making text red" }],
  })
);
We can see that the tool again does nothing by itself, but:
- It's pointing to a new template -
red-text.html - And it accepts an input parameter -
text.
Now we need to build a template that accepts an input and makes it red. For that we'll add JavaScript (again just vanialla no frameworks for now).
server.registerResource(
  "red-rext",
  "ui://widget/red-text.html",
  {},
  async () => ({
    contents: [
      {
        uri: "ui://widget/hello.html",
        mimeType: "text/html+skybridge",
        text: `
            <script>
              document.addEventListener('DOMContentLoaded', function() {
                const textElement = document.getElementById("text");
                textElement.innerText = window.openai.toolInput.text;
            });
            </script>

            <h1 style="color: red;" id="text"></h1>`,
      },
    ],
  })
);
A few key things about that template:
- We have a
<script>tag for putting JavaScript - The logic resides in the
DOMContentLoadedevent handler - We have access to
window.openai.toolInput.texttoolInputis an object itself which represent the input to the MCP tool
So if we call the MCP tool with (after refreshing the ChatGPT app) with:
Call make-text-red from hello-world with some random funny text
Important gotcha
ChatGPT caches templates. So if you make any changes to HTML/CSS/JavaScript, unfortunately you need to refresh the app in the settings.
UI glitches?
The iframe seems to be small. Indeed, we'll cover how to fix that in the future posts.
What is OpenAI Apps SDK
Didn't we mention the OpenAI Apps SDK?
Yes!
Did we download now?
No! There's nothing to download for now. Ultimately, it's just window.openai and a combinations of registered resources and _meta attribute of an MCP tool pointing to a template.
Conclusions
- ChatGPT apps look super promising
- Mainly because of its equivalent of app store - a huge distribution channel
- For now the developer experience is not great - you often need to go to settings to refersh the app
- Also ChatGPT itself is not good at figuring out when to call an MCP tool. Claude is much better at it.
Resources
The opinions expressed herein are my own personal opinions and do not represent my employer's view in any way. My personal thoughts tend to change, hence the articles in this blog might not provide an accurate reflection of my present standpoint.
© Mike Borozdin