Building a simple MCP server with Node.js
Introduction
In the previous post I gave an introduction to MCP (Model Context Protocol) and showed how you can use existing MCP servers. And now we are going to explore how we can build a simple MCP server with Node.js and TypeScript ourselves.
This post is also available as a video on YouTube:
Prerequisites
In this example we're going to using Claude Desktop an an LLM/MCP client. You don't need any paid Claude subscription for it. Even though in the previous post I did have an example which required a paid Claude subscription. From now on everything we talk about won't require spending any money.
Essential dependencies
We're going to be using the official MCP TypeScript SDK. So let's install an NPM package called @modelcontextprotocol/sdk. Also we're going to be serving our MCP tools via HTTP. So let' install express as well.
Basic scaffolding
Let's just follow an example from the official SDK and create a basic scaffolding.
./src/index.tsx
import { McpServer } from "@modelcontextprotocol/sdk/server/mcp.js";
import { StreamableHTTPServerTransport } from "@modelcontextprotocol/sdk/server/streamableHttp.js";
import express from "express";

const app = express();
app.use(express.json());

app.post("/", async (req, res) => {
  try {
    const transport = new StreamableHTTPServerTransport({
      sessionIdGenerator: undefined,
    });

    const server = new McpServer({
      name: "hello-world",
      version: "1.0.0",
    });

    await server.connect(transport);
    await transport.handleRequest(req, res, req.body);
  } catch (error) {
    console.error("Error handling MCP request:", error);

    if (!res.headersSent) {
      res.status(500).json({
        jsonrpc: "2.0",
        error: {
          code: -32603,
          message: "Internal server error",
        },
        id: null,
      });
    }
  }
});

app.listen(3000);
Don't believe it? Let's run it.
Register our MCP server with Claude Desktop
We need to edit a Claude Desktop configuration file. On macOS it is located in ~/Library/Application Support/Claude/claude_desktop_config.json and on Windows in %APPDATA%\Claude\claude_desktop_config.json. You may have to create it if it doesn't exist.
Add the following to the file:
{
  "mcpServers": {
    "hello-world": {
      "command": "npx",
      "args": ["-y", "mcp-remote", "http://localhost:3000"]
    }
  }
}
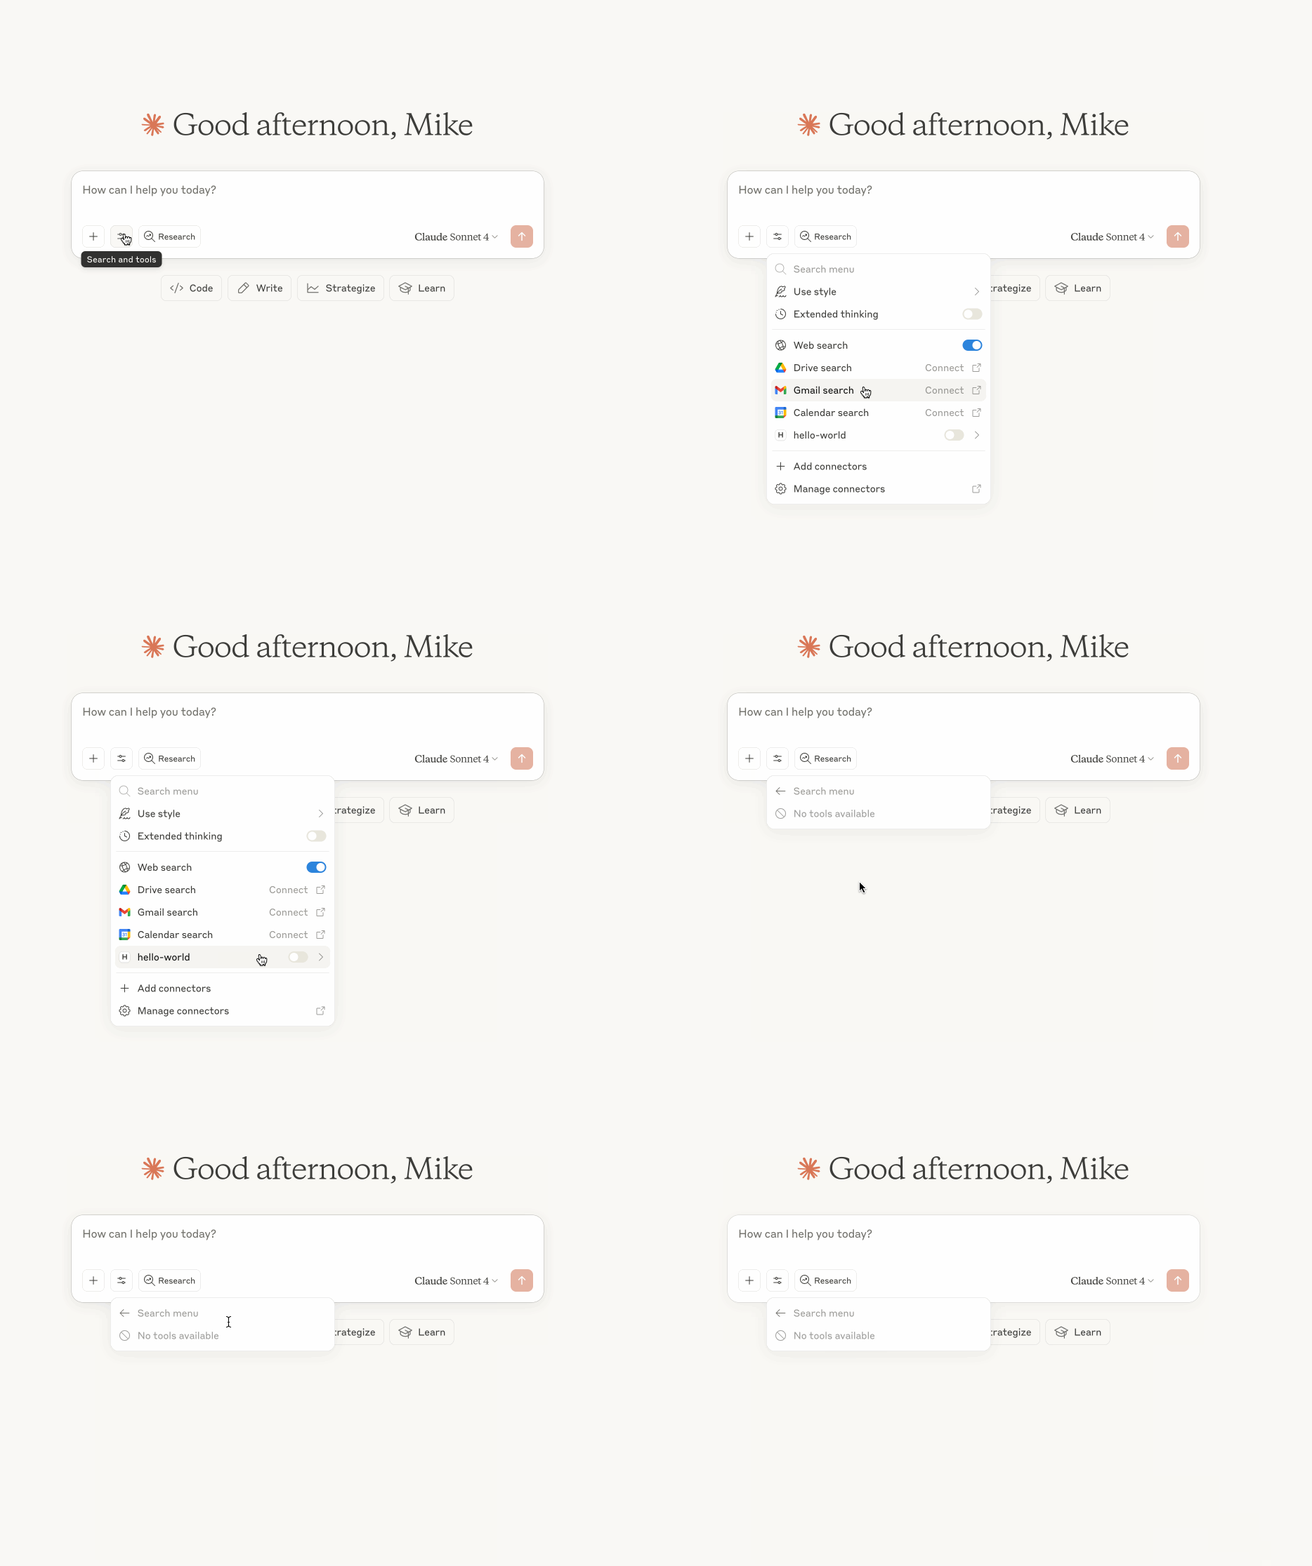
Now if you open Claude Desktop (you have to restart it if was opened when you changed its configuration). You should see your newly created MCP Server.

But it's empty! Of course, it's empty! That's because we have not added any tools yet.
Our first tool Hello, world!
Let's write a hello-world tool in our server:
server.registerTool(
  "say-hello-world",
  {
    title: "Say hello",
    description: "Says hello to the world",
  },
  () => {
    return {
      content: [{ type: "text", text: "Hello, world!" }],
    };
  }
);
After that you don't need to restart Claude Desktop. It's just enough to refresh it - hit cmd+r/ctrl+r or View -> Reload.
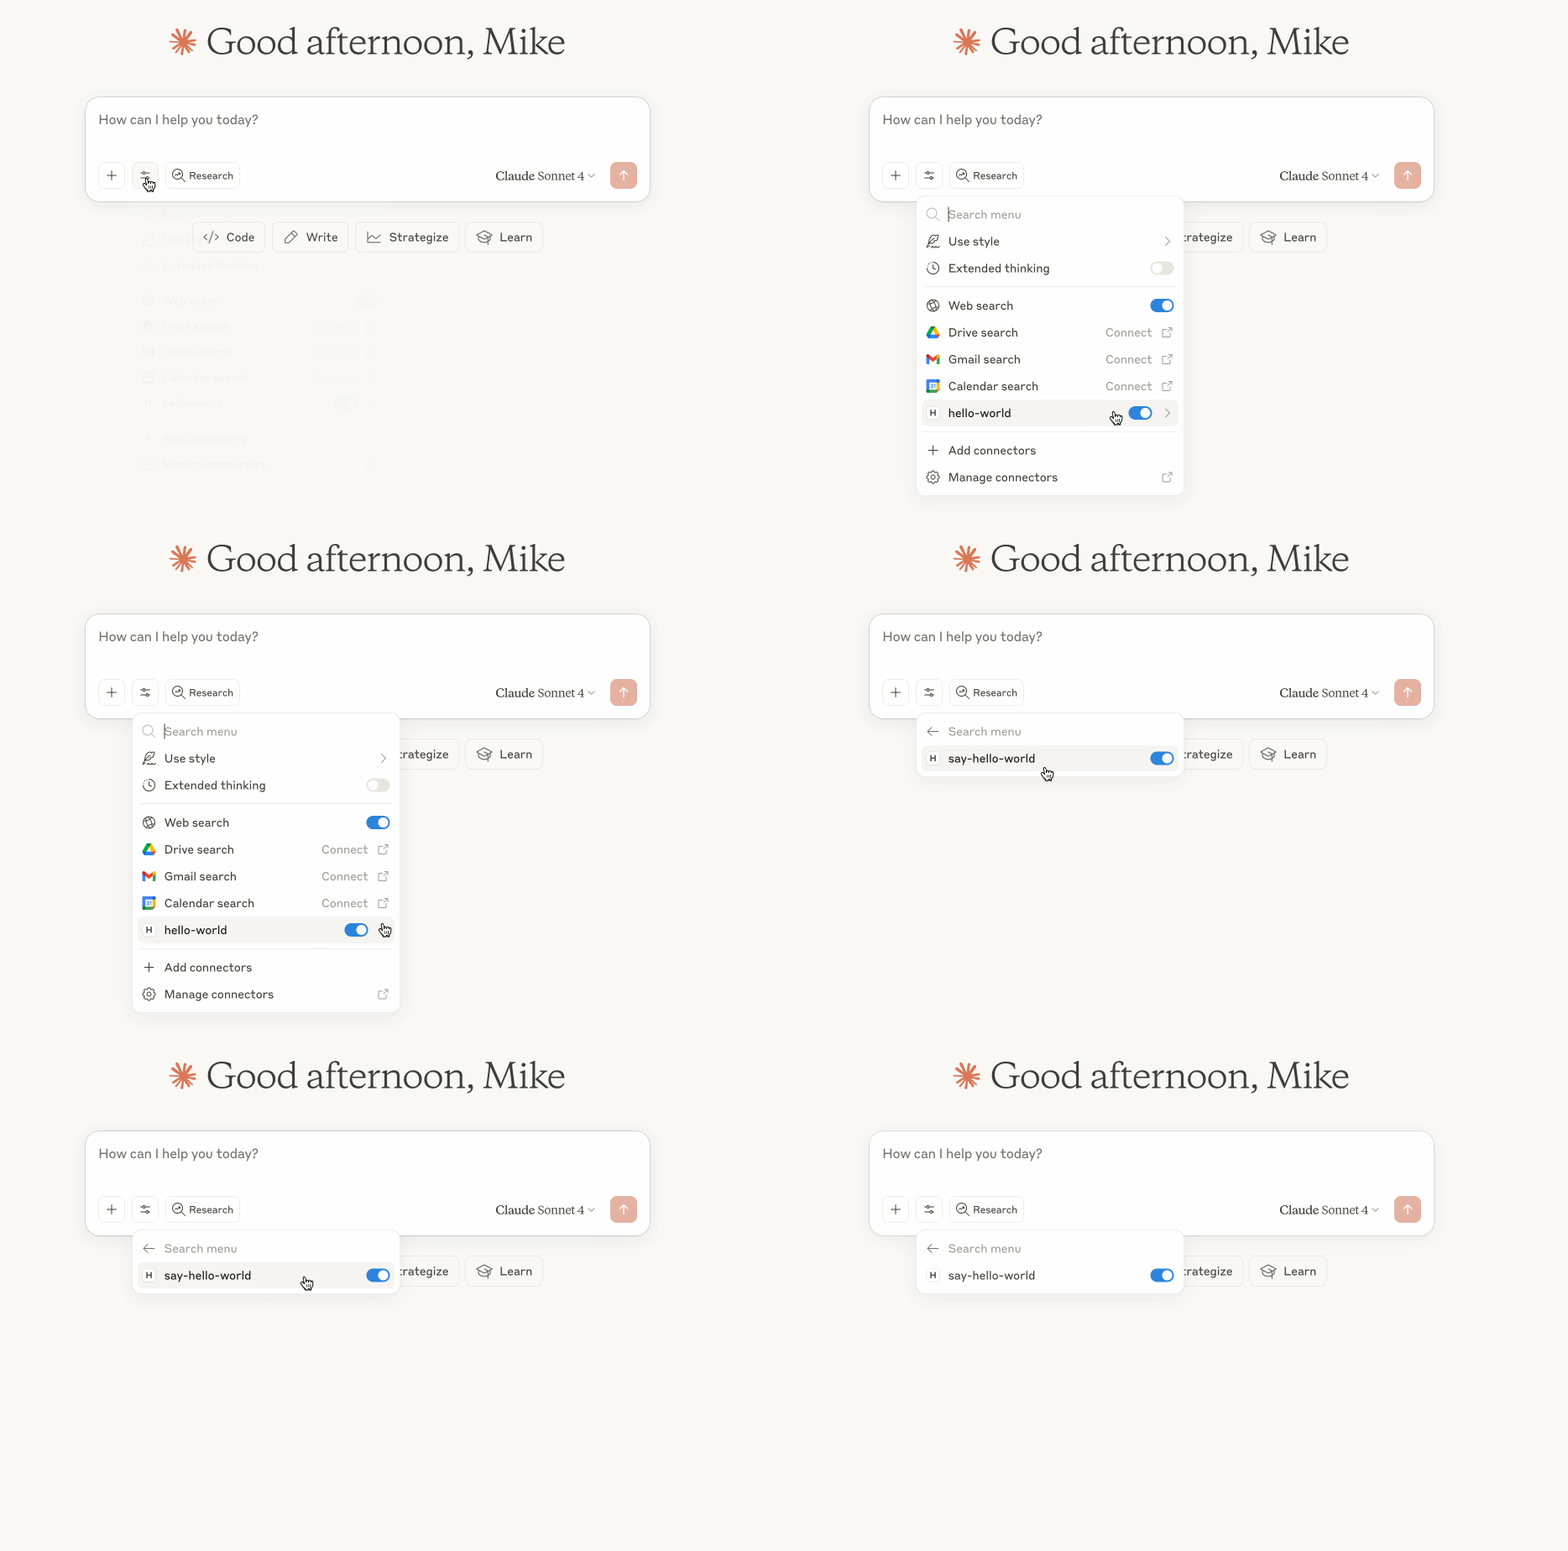
Now if you look among the tools we should see that hello-world MCP now has our new tool - say-hello-world:

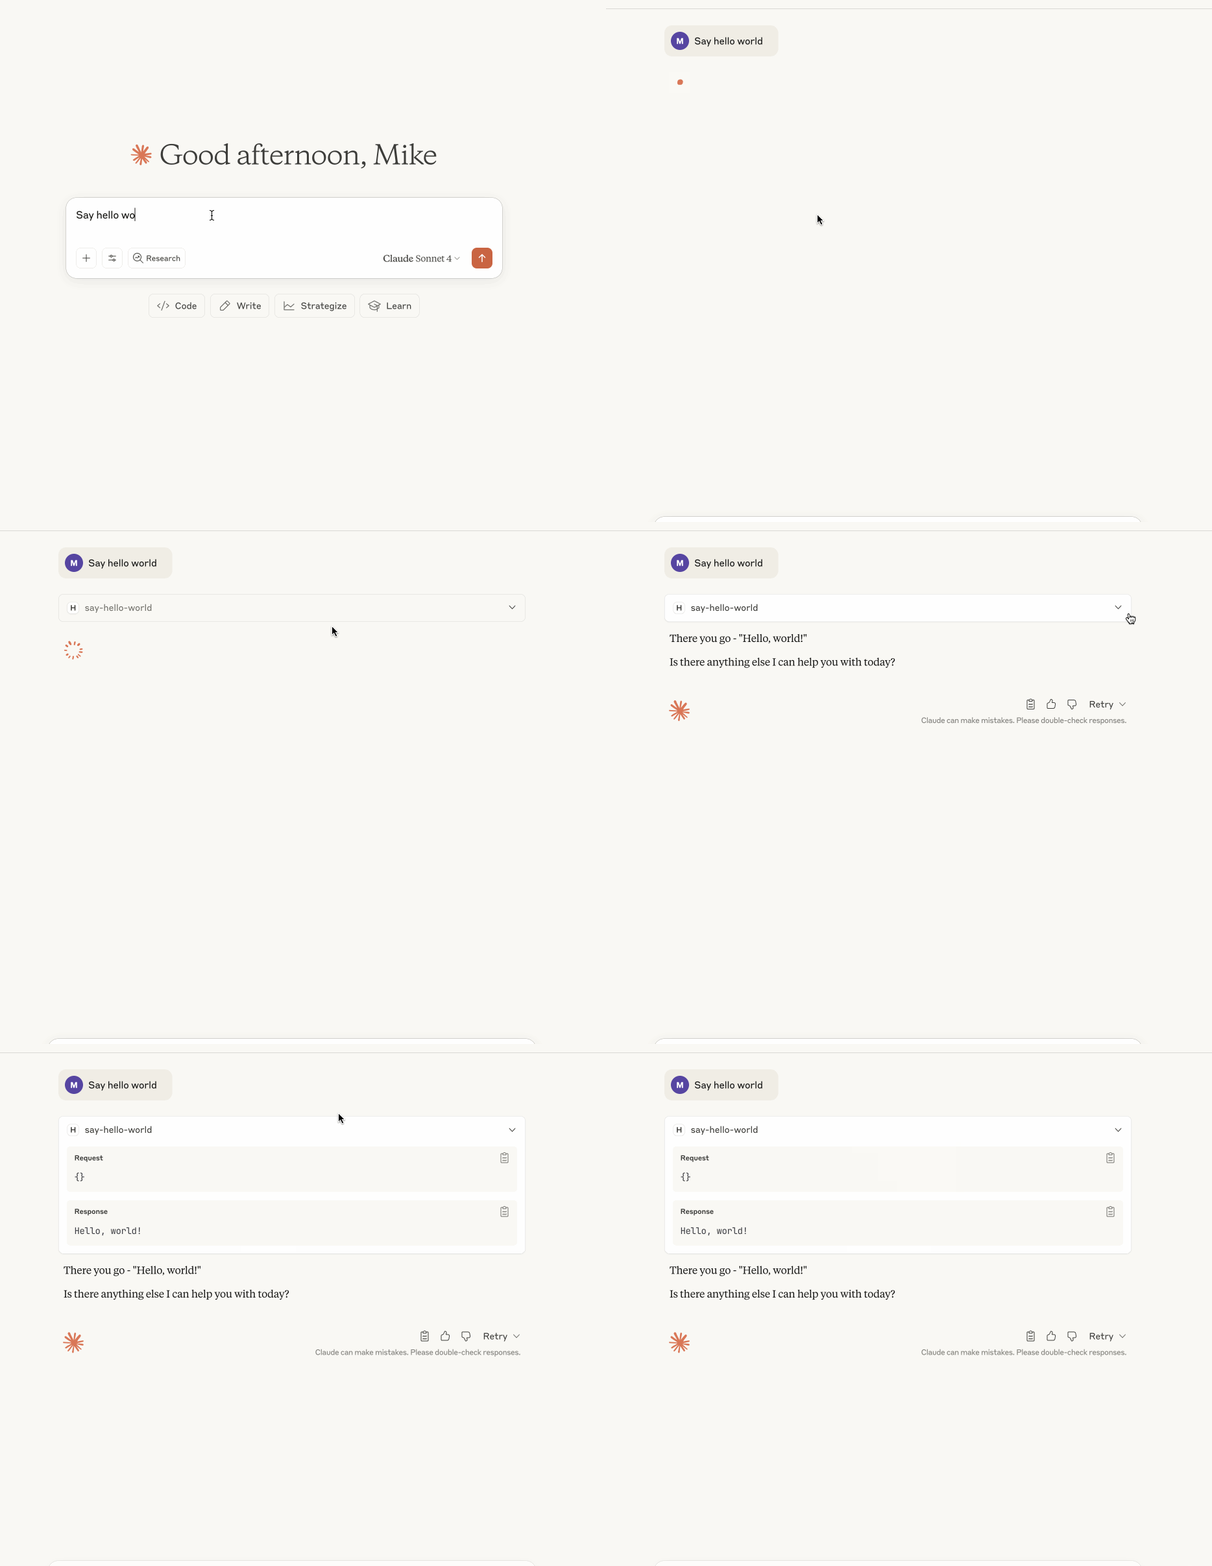
Finally, it's time to write a prompt and call our tool! Let's put Say hello world in the prompt box and see what happens!

And there we go - Claude called our tool and we got a response. Moreover, we can see all that request and response information, as well as the name of our tool, straight in Claude Desktop.
Let's make an LLM better at maths (kind of)
You can use MCP servers not only for retrieiving information an LLM hasn't been trained on, but also for extending its abilities. For example, it's a well known fact that LLMs are not good at maths.
So let's make Claude better. Well, kind of! We're just going to add a simple tool that adds two numbers. But we'll learn about writing tools that accept arguments.
Before we do that let's add zod to our dependencies, as it'll be used for desribing the input schema.
Now let's write the tool that sums up two numbers:
server.registerTool(
  "add",
  {
    title: "Add two numbers",
    description: "Adds two numbers",
    // Strongly typed input schema
    inputSchema: {
      a: z.number().describe("The first number"),
      b: z.number().describe("The second number"),
    },
  },
  (input) => {
    return {
      content: [{ type: "text", text: `${input.a + input.b}` }],
    };
  }
);
Let's dive into this example
First of all we had to define an input schema. Moreover, this input schema is strongly typed thanks to zod. Then when we write a handler function input.a and input.b will be both of the number type. We still have to return a result as a string. The LLM specification does support other return types such as object and image. We will cover them in further posts.
Second important point is that title, description, and describe() calls for the input parameters should be treated seriously. They are what allows an LLM to choose a correct tool map texts in your prompt to correct input parameters.
Let's run it
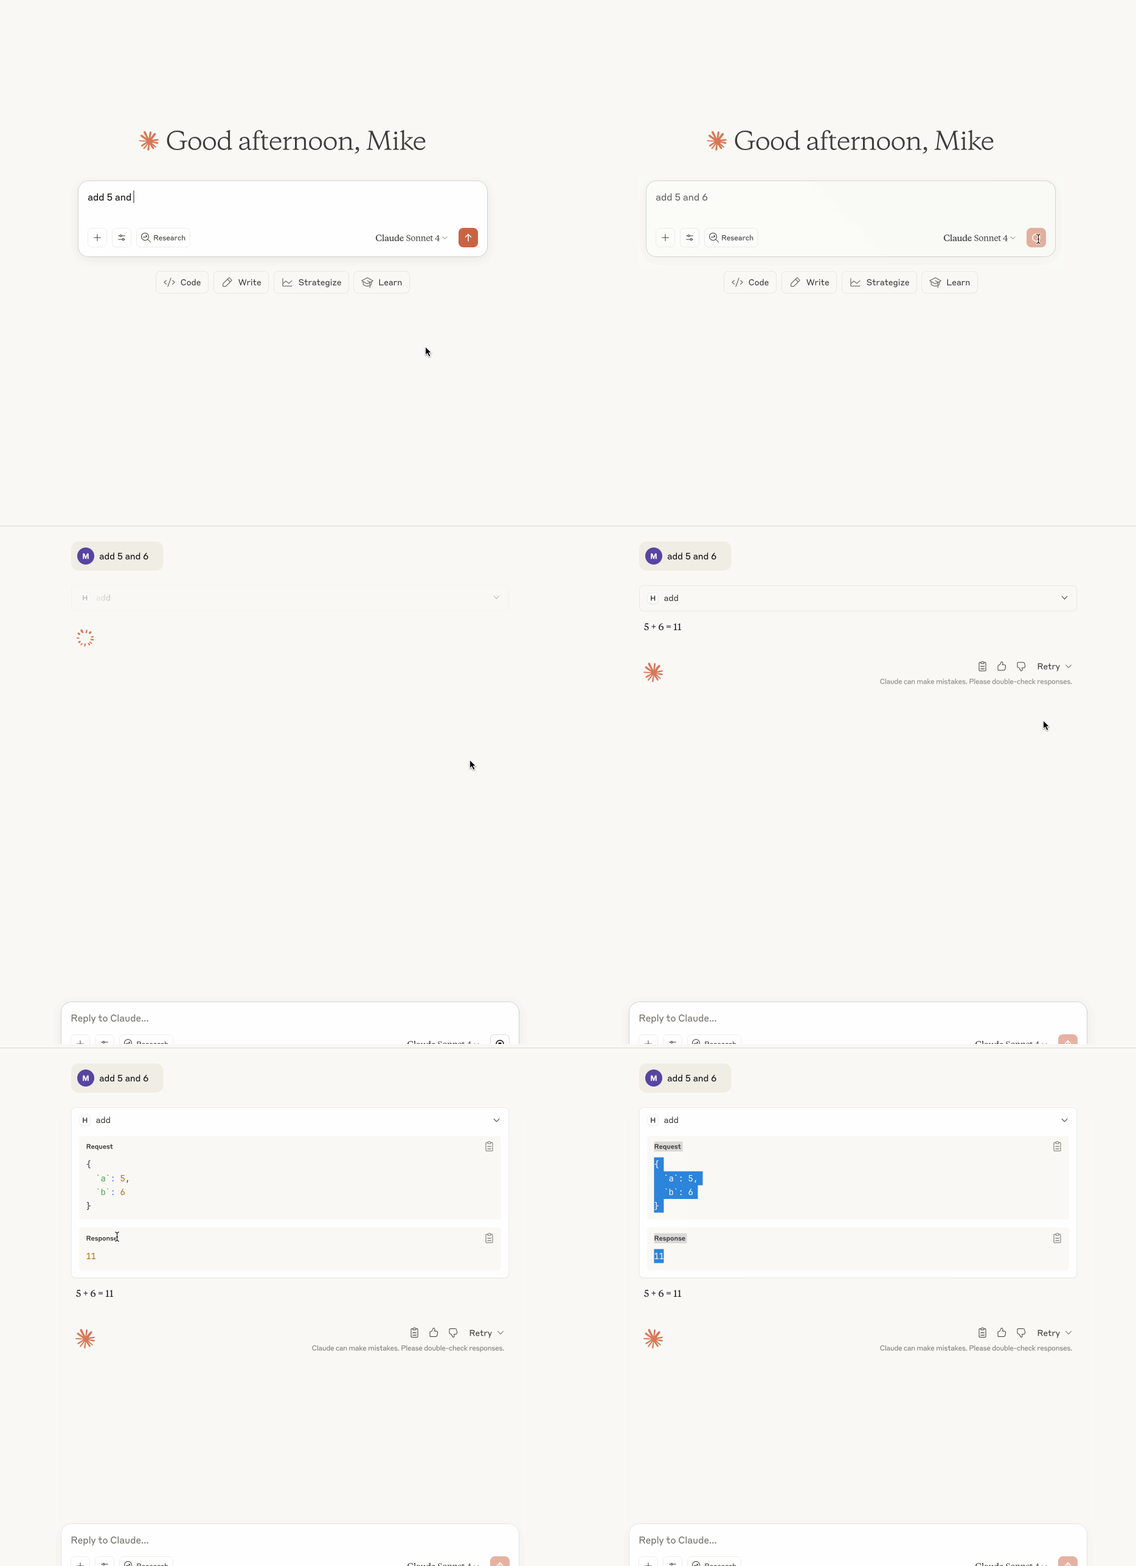
Refresh Claude and type a prompt - add 5 and 6.

And as you can see in the video about, Claude has figured out that we need to to call the add tool and then it mapped parts of our prompt 5 and 6 onto the correct input schema parameters a and b.
Code is on GitHub
You can find the full code of this example in GitHub.
Further chapters
In this next chapter we'll talk about how to build an MCP server that connects to SQL database and shows information on product inventory, does sales analytics. We'll also cover returning JSON data.
The opinions expressed herein are my own personal opinions and do not represent my employer's view in any way. My personal thoughts tend to change, hence the articles in this blog might not provide an accurate reflection of my present standpoint.
© Mike Borozdin